This is a new website currently under development. To visit the old website, click
here
Kunal Singh
I'm Kunal, a 23 y/o developer based in Bhopal, India. I love building end-to-end products, tools, beautiful interfaces. I have a strong passion for Backend Development, Servers & Linux, CLI, Databases, Cloud & Networking and Artificial Intelligence.
Pop!_OS, Vim, Cursor are my daily drivers for development. Currently, I am learning ML, Rust, Scala, Real-time and Distributed Systems. I love contributing to Open-Source Software Development.
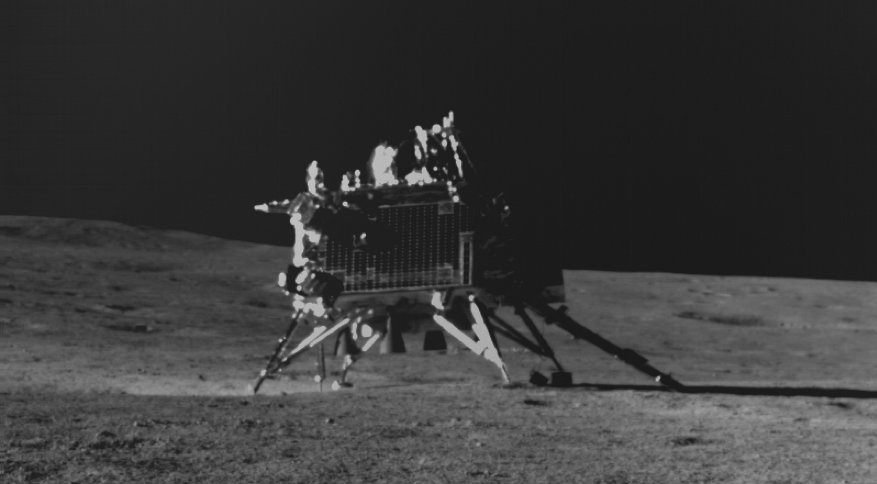
Chandrayan 3